Monday, February 24, 2014

Because a crockpot should not collect dust.....

Please don't tell Buela I do this, but I make pinto beans in a crock pot.

I know!  But look at the end result.....


When I was a child Buela used this to make her beans...
It took ALL DAY and the day before to soak the beans and then cook them.  In the end we had tender, but firm beans that we used for everything.  Did you know I never had refried beans until I ate at an American restaurant that served supposed Mexican food.  Yes....that was a little dig at the industry.  It was also the first time I heard the word "burrito." Buela just called it dinner.

Now onto the recipe...which is not really a recipe.  It's more like a throw in the pot and walk away...NOT a recipe.


Say hell to my friend....Carlotta.

I think I should mention that I name my appliances.  No comment necessary.  I have already gotten the weird looks and commentary from this guy...
Remember him?  This is the husband.  He loves to fish and I told him I wouldn't put another picture of his face on the blog.  So I chose a picture of his backside.

So now you will need homemade vegetable stock, about 8 cups, or you can use one box of stock.  We use vegetable stock, but I have a friend who uses chicken stock.  I say go for it!  But DO NOT use beef stock!!!  It WILL NOT give you the flavor you are looking for.


You also need these....

We love beans around here.  We spent a brief time as vegetarians and really loved using these and other varieties in so many ways.  For this recipe you need two cups.

I pour them into a strainer, look for any beans that need to be removed and then rinse them.  


Then there is the garlic powder, about 1 tablespoon....
NOT GARLIC SALT!!  DO NOT SUBSTITUTE!

Now add two cubes of this....

Just trust me on this one!  You can get them at Trader Joe's or you can simply omit them.  I have a friend whose husband would LOVE to keep these out of the pot because he does not like garlic.  I know!  Crazy!  We will bring him over to the dark side one of these days.

An onion chopped...


2 teaspoons of sea salt....

Fresh cracked black pepper....

All of it goes into Carlotta....
That thin, frozen substance is our homemade vegetable stock.  We freeze it once it is made in 4 ounce Ziploc bags. We have tried other bags and I so want to tell you to use whatever you want, but then I would be lying.  Use Ziploc and avoid catastrophe when freezing foods.

Set it on high for 5 hours or low for 8 hours...


Walk away and come back to perfect beans!

You can make these into the refried beans, but Google a recipe for that.  Buela never did it and we love them just like this!  


My favorite?  I love them in a flour tortilla....


A little bit of cheddar cheese....


Roll it up and eat away!!!

Or go simple and serve it with homemade cornbread and crumble some bacon over the top.


You can also serve it over white rice...we make ours but Trader Joe's sells one you can pop in the microwave.  That would work too.  We also love it over what people refer to as Mexican rice.


Give this a try and then let me know how it turns out!

Sunday, December 15, 2013

Christmas...Christmas time is here...time for joy...AND TIME IN THE KITCHEN! Oh....and Chex Mix!

See this lovely bowl.....
It has a story.  One that may not make sense, but in the end you will have a story and a GREAT chex mix recipe.

But before we get to any of that...Preheat your oven to 200 degrees.

My loving and sweet spouse comes from a very loving and interesting family. I have never introduced you to him but here he is...
Kevin is the kind of man I believe all men should strive to be.  However, he and his family have the strangest food traditions during the holidays.

And one of these traditions involves...
His Aunt Brenda started it.  I am not one to point fingers, but she started it and I am soooo thankful!
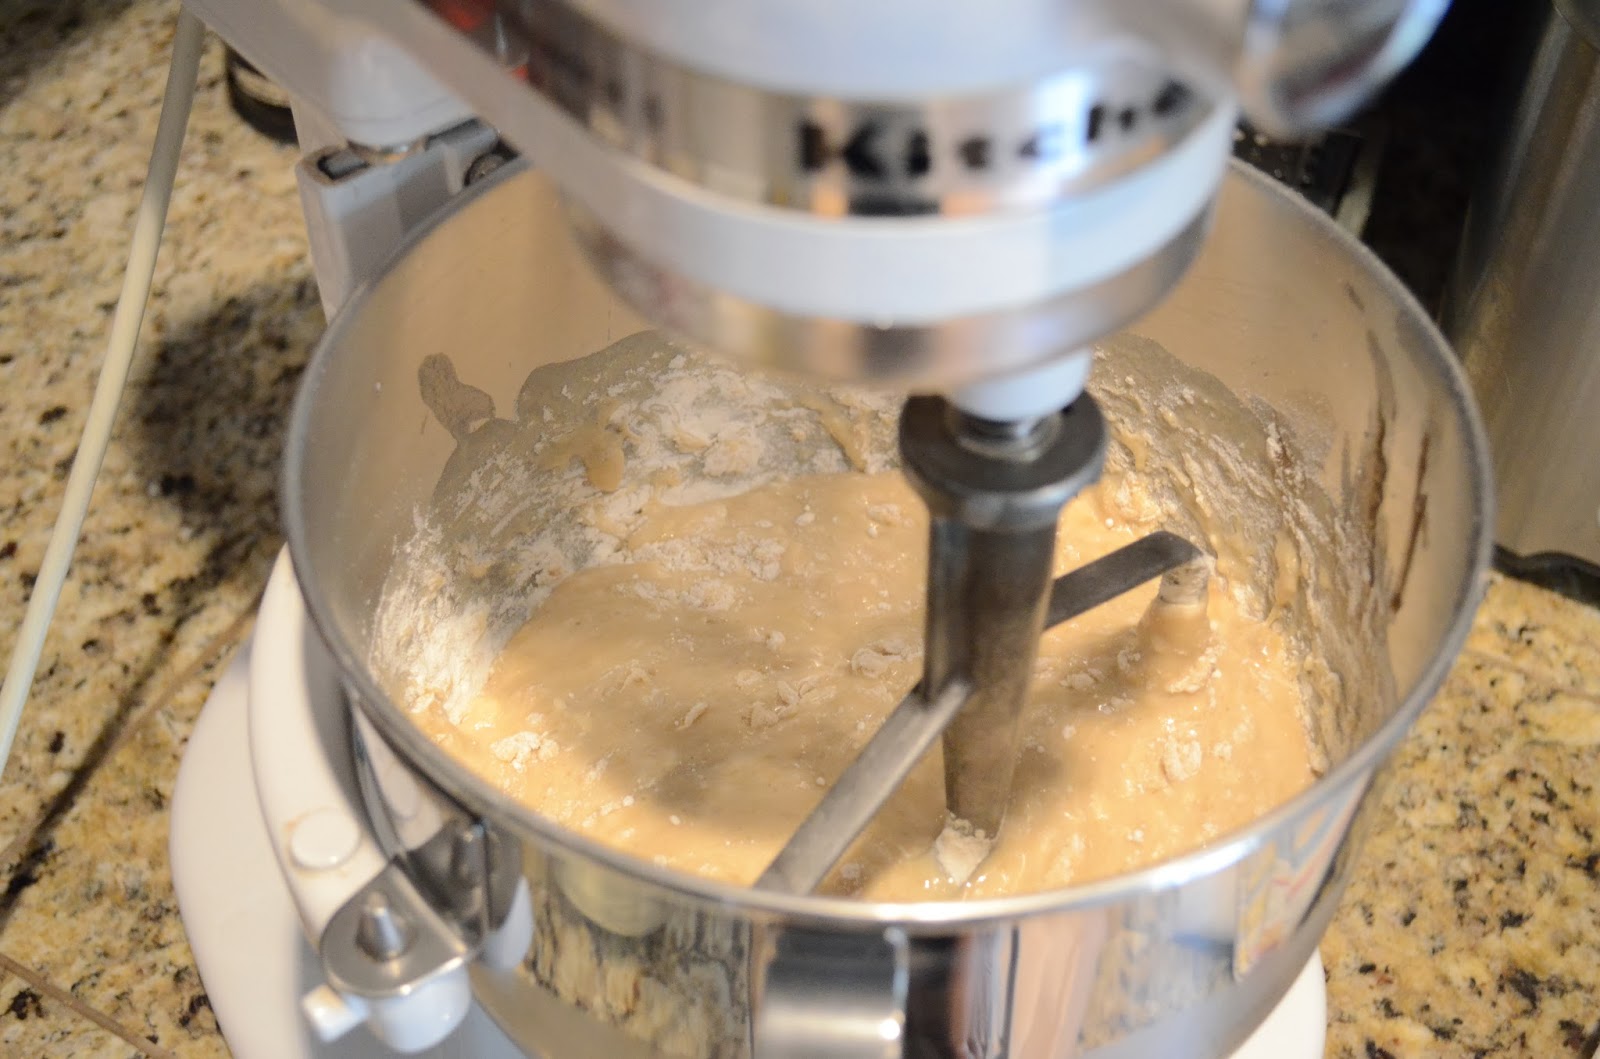
Now about that bowl....Kevin did it.  I mean...he purchased it for me so I can mix large amounts of food in it.  I was learning to cook and was frustrated with all the small bowls in the house so he got this.
In the bowl right now there is one bag of wheat chex, rice chex and corn chex.  Go to Costco or Sam's Wholesale and you will find a box with all three.
Add one small bag of cashews, one bag of slivered almonds, and peanuts (if there is no one with allergies).  I have to skip the peanuts this year.
Now add a bag of pretzel sticks and a bag of plain crackers of your choosing. For some reason, this is my favorite part.
Then two bags of goldfish crackers go in to add to the rich buttery taste.  Told you it was a big bowl.
Now....the sauce...yes....that is butter.  Three sticks of butter.  Don't judge!  It is A LOT of chex mix!
Don't worry.  I added the other stick of butter!

Then there are the dried spices...
2Tbsp of dried and chopped onion
1Tbsp of dry mustard
1Tbsp kosher salt


Then some tabasco sauce....about 3Tbsp
Some worcesteshire sauce.....about 6 Tbsp
Did I spell that right?

Now DO NOT cringe at this one.....
I know!  But to be honest, this is how Aunt Brenda does it.  Far be it from me to break tradition!
2tsp of crushed garlic
You could also use fresh garlic here.

Now heat this up until the butter melts and stir until it comes together.
See how pretty!


Now go back to that bowl, pour half of the mixture in and stir.  Then repeat.

It will get this glossy look, but keep stirring until every nook and cranny is covered in the sauce.
Then place it evenly amongst several glass, rectangular, oven safe dishes.
Place them in the oven, evenly spaced for 2 hours.
Did I mention you need a lot of time to do this one?  Do it on laundry day. Or a snowy day.  Or a day when you are feeling more anti-social than you would like to admit.

After two hours you will need to remove the trays, one by one and do something no other chex mix recipe tells you to do.
Sprinkle 2 tsp of this all over the mix...
and then stir it up.  It is granulated garlic and salt.  2 tsp of each onto each try of the chex mix!  Then taste.  Add more of either one to your taste.
Then back into the oven it all goes!
Lower your oven temperature to 175 degrees and leave them in for another two hours.
When they are ready, the mix should be dry and crisp, and taste spicy.  Remove them and place them on wire racks to cool.  Then it is time to pack them up!
They make the best gifts!  Here is the beauty shot...
Now go make your own and tell me how they turn out!
Merry Christmas from our house to yours!
Auntie Cheena

Thursday, October 24, 2013

Not Just For Monkeys

Do you see these?  
Do not be afraid.  They are supposed to look this way.

I am sure you are used to them looking like this....
But if this is the case then you are missing out on the glory that is....FROZEN BANANAS!

What glory am I talking about?  Well, this glory...
Amazing to look at and even better to eat.  Banana muffins are a new favorite of mine and of our neighborhood.  We also have another fan of them in our home...
Annie Belle ate 9 of them right off the counter last night.  This post is actually pictures of my second batch.  She's cute, but she's sneaky!

Start by preheating your oven to 350 degrees and then start gathering your ingredients.

Here is what you will need:

The Liquids...
    4 (1 1/2 to 2 pounds) ripe bananas from your freezer...defrosted
    1 cup packed light-brown sugar
    1/2 cup canola oil
    1 large egg
      1/2 cup sour cream
      1 tablespoon pure vanilla extract


    The Dry...
    1 cup all-purpose flour
    1 cup cake flour
    1 teaspoon baking powder
    1 teaspoon baking soda
    1/2 teaspoon salt
    If you do not have cake flour then you can use only all-purpose flour.  I tried it with whole wheat flour and they were yummy, but a little too dense for me. I cannot use light sour cream but my neighbor uses it and says her recipes turn out fine.  You can also substitute Greek yogurt.

Step one:
Add your bananas to your mixer and then mix on low speed until they are nice and mushy.
I know it looks gross but it gets better.  I promise.
Step two:
Add all of the liquid ingredients and mix until combined and then stop the mixer.
I know...still unattractive. 
Step three:
Add all of the dry ingredients to a separate bowl and then whisk them together until combined.
Step four:
Add your dry ingredients in three equal parts.  
Add...
Mix until just combined....
Add...
Mix until just combined...
Add....
Mix until completely combined..
Magical looking...isn't it? Well, magical and sideways.

After you remove the bowl from the mixer, use your trusty spatula to mix the batter one last time to make sure there are no dry ingredients hanging out at the bottom.
Step five:
Spray two muffin tins with baking spray or add baking paper cups.  Mine are a non-dye and no bleach added variety due to allergies. You should choose something that is pretty.
Step six:
Portion the mixture into the muffin tin using this lovely kitchen utensil...
It's not just for ice cream anymore!
Step seven:
Put those lovely things into the oven and bake for 25 minutes.
This will make approximately 24 muffins, but only if you fill the muffin cups halfway.  I never do that.  I want them large and fluffy.
Step eight:
Remove them and place the tins onto a cooling rack. After ten minutes you can remove the muffins completely and place them directly on the rack.
Step nine:
Sneak one away and crack it open...
Put a small pat of butter on it....
Devour before anyone can see you...
Enjoy and I will see you next time!