Thursday, October 24, 2013

Not Just For Monkeys

Do you see these?  
Do not be afraid.  They are supposed to look this way.

I am sure you are used to them looking like this....
But if this is the case then you are missing out on the glory that is....FROZEN BANANAS!

What glory am I talking about?  Well, this glory...
Amazing to look at and even better to eat.  Banana muffins are a new favorite of mine and of our neighborhood.  We also have another fan of them in our home...
Annie Belle ate 9 of them right off the counter last night.  This post is actually pictures of my second batch.  She's cute, but she's sneaky!

Start by preheating your oven to 350 degrees and then start gathering your ingredients.

Here is what you will need:

The Liquids...
    4 (1 1/2 to 2 pounds) ripe bananas from your freezer...defrosted
    1 cup packed light-brown sugar
    1/2 cup canola oil
    1 large egg
      1/2 cup sour cream
      1 tablespoon pure vanilla extract


    The Dry...
    1 cup all-purpose flour
    1 cup cake flour
    1 teaspoon baking powder
    1 teaspoon baking soda
    1/2 teaspoon salt
    If you do not have cake flour then you can use only all-purpose flour.  I tried it with whole wheat flour and they were yummy, but a little too dense for me. I cannot use light sour cream but my neighbor uses it and says her recipes turn out fine.  You can also substitute Greek yogurt.

Step one:
Add your bananas to your mixer and then mix on low speed until they are nice and mushy.
I know it looks gross but it gets better.  I promise.
Step two:
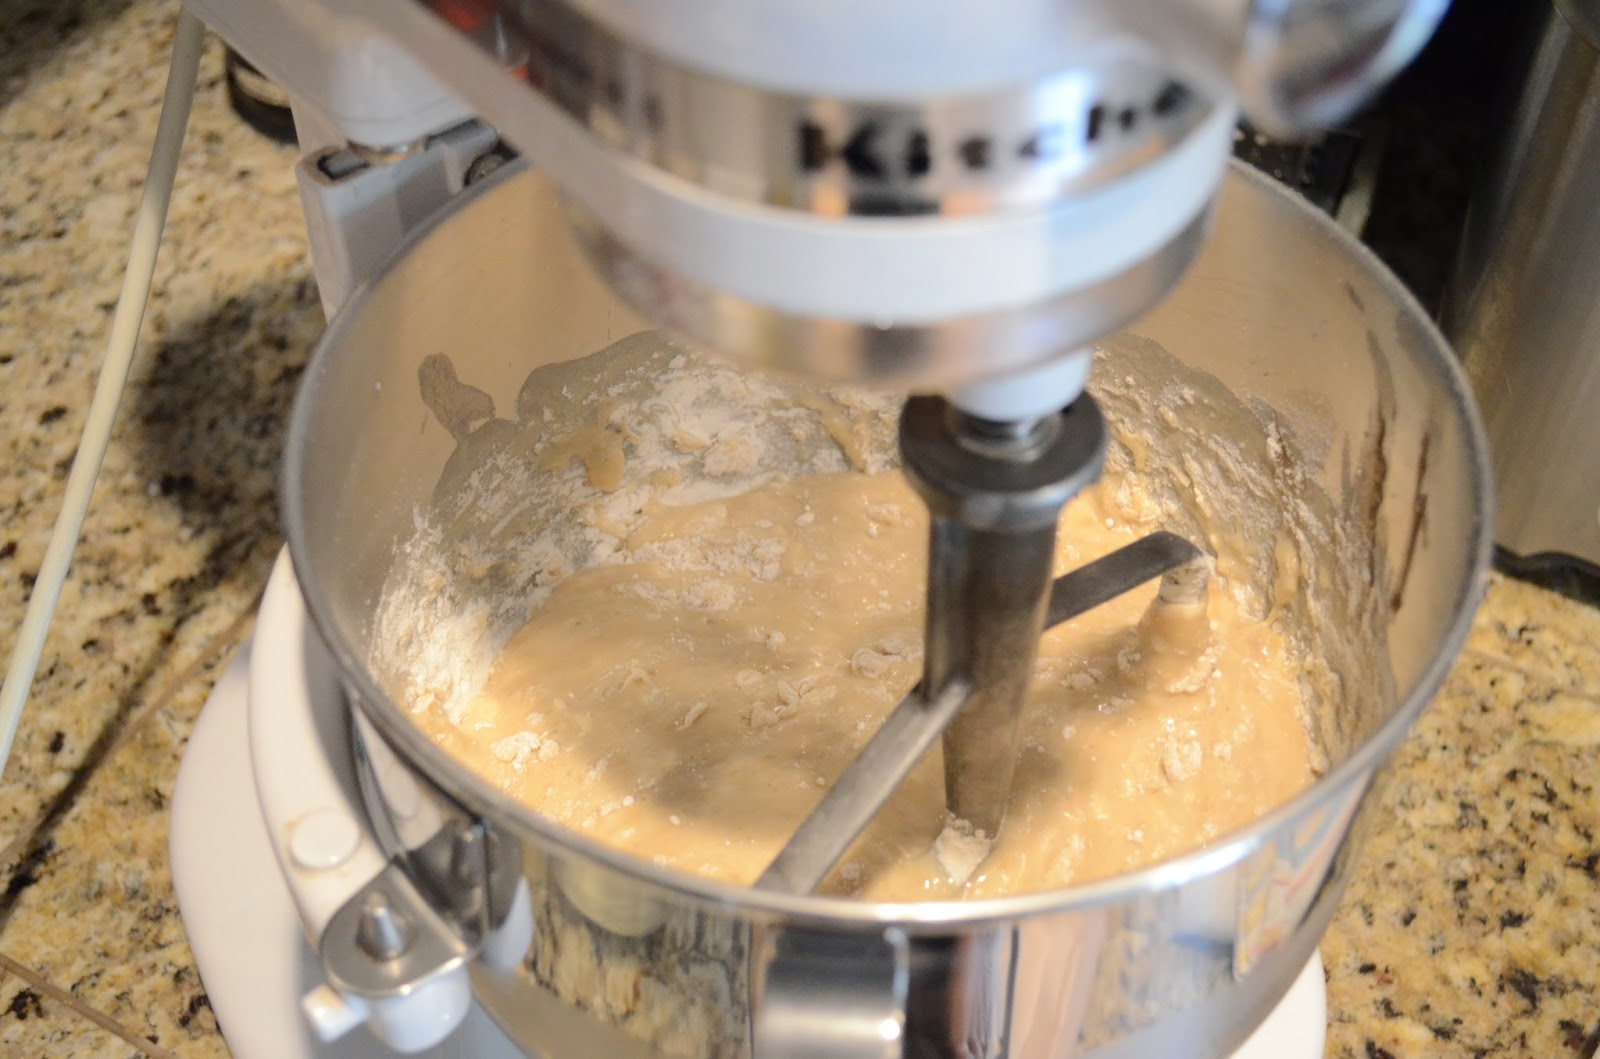
Add all of the liquid ingredients and mix until combined and then stop the mixer.
I know...still unattractive. 
Step three:
Add all of the dry ingredients to a separate bowl and then whisk them together until combined.
Step four:
Add your dry ingredients in three equal parts.  
Add...
Mix until just combined....
Add...
Mix until just combined...
Add....
Mix until completely combined..
Magical looking...isn't it? Well, magical and sideways.

After you remove the bowl from the mixer, use your trusty spatula to mix the batter one last time to make sure there are no dry ingredients hanging out at the bottom.
Step five:
Spray two muffin tins with baking spray or add baking paper cups.  Mine are a non-dye and no bleach added variety due to allergies. You should choose something that is pretty.
Step six:
Portion the mixture into the muffin tin using this lovely kitchen utensil...
It's not just for ice cream anymore!
Step seven:
Put those lovely things into the oven and bake for 25 minutes.
This will make approximately 24 muffins, but only if you fill the muffin cups halfway.  I never do that.  I want them large and fluffy.
Step eight:
Remove them and place the tins onto a cooling rack. After ten minutes you can remove the muffins completely and place them directly on the rack.
Step nine:
Sneak one away and crack it open...
Put a small pat of butter on it....
Devour before anyone can see you...
Enjoy and I will see you next time!

Sunday, September 8, 2013

Spending Time Doing It Right

Since I have discovered home cooking and how wonderful it can be, I have decided that stocking up on essentials is a must.  Now everyone has a different idea as to what is necessary in their kitchen, but there are some things that I KNOW we can all agree on. 

Today's blog will be a pantry check for all of you. First of all, take a look in your pantry and tell me if even know what is currently in there and if any of it is past its expiration date.

You don't know...do you?

CLEAN OUT THAT PANTRY!

Here is the result of my husband and I working hard to create a pantry that is worthy of this blog.


It's beautiful.  Isn't it.

Now let's talk about what is in here that allows me to always be ready to make a meal at home.  Really... I am always ready to make a meal at home any time.  I have even made a meal for 12 in less than an hour.

Here we go!!!!

The one ingredient I use most often is...
canned tomatoes!  I have crushed, diced, whole in their juices, with jalapenos, with basil, and so much more.  I counted and there are 15 cans of tomatoes in the pantry.  I just restocked and the last time I did that was last month.

There is an ingredient that you will also need several types of...
pasta.  This is farfalle or bow tie pasta.  I also have spaghetti, angel hair, pappardelle, rigatoni, macaroni, and more.  I restock this item every two months. Now, there are many that simply buy what is on sale. If that is you then by all means...go for it!  I actually wait for a specific brand of pasta to go on sale in order for me to stock up.  I use DeCecco pastas.  There are many reasons for this, but the main reasons are texture and flavor.  Wait for them to go on sale and then stock up!

There are some things that many of you may already have but here are a few things NO ONE can really cook without...
flours and sugar.  You read that correctly...flours. There is one filled with bread flour, one with all purpose, and one with cake flour.

Oils and vinegars are an essential, but often times I will look in the cupboard of a friend and find only one type of oil or vinegar.
With that said, I am severely allergic to balsamic vinegar and wine vinegars of any type. I do have apple cider vinegar and white vinegar in the house.  But here is the lesson I want you to learn here, one size does not fill all when it comes to oils and vinegars.  You will need several types of olive oil, at least one vegetable oil and one canola oil.

It may seem sacrilegious, but...
I have canned beans in my pantry.  The only type I do not have are pinto beans.  I will only go so far...I draw the line at pinto beans.  Choose low sodium and ALWAYS rinse the beans after you get them out of the can!  There are so many meals you can make with these that you could go on and on with a list of recipes.

Now do NOT scoff...
those are anchovies and I PROMISE that if you use them in a COOKED sauce or a salad dressing you will NOT know they are there.  As for the mustard, I have four types of mustard that I stock in my pantry: standard yellow, horseradish, stone ground, and dijon.  I do not use teriyaki sauce for teriyaki.  I use it for marinades.  This particular brand does not have preservatives or artificial colors.

Dried beans...

Rices, cous cous, quinoa...


Polenta...
They all make fabulous side dishes AND main dishes.  Keep them all on hand for extremely quick weeknight meals.  That reminds me...I need to make a quinoa salad for the weekend.  My husband LOVES it!

Do you know what this is?

I'll give you a hint...it has these inside...
This is my homemade vanilla extract. Split 15 beans right down the middle of the pod and then place them in a large Ball jar.  Fill the jar up with vanilla flavored vodka.  Seal it and place it in the pantry for three months.  Put it right up front and shake it around each time you go in there.  If you are a baker then you will need to have this made and ready to go in your pantry.

There are a few of you that know I am not a fan of the salt you have in your pantry.  If you have iodized salt hanging out in there...get rid of it.  I am begging you!
I keep two types of salt on hand at all times...


This is one...kosher.  The other is an all natural sea salt.  Start cooking with these and you will wonder why you held on to the iodized salt for so long.

Pepper is another essential seasoning...
Like so many other things in the pantry I have several types.  If you make homemade stocks you will need whole peppercorns.  If you have never made a homemade stock...you are missing out!


I bake more than I would like to admit.  I am a better cook than I am a baker, but in my pantry I have these three for VERY specific reasons.
1.  No knead bread needs yeast.  Click on the link to get a FABULOUS recipe.
2. Vanilla sugar makes fresh fruit SO much better if you sprinkle it over the fruit and let it sit for 15 minutes.  You get this beautiful fruit salad with a hint of vanilla.
3. Brown sugar goes in sooo much.  In this house it is a standard ingredient in lattes, oatmeal, fruit crisps, and so much more.

Now you have some basic ingredients that will help you whip up a meal in no time.  Well, if you have a well stocked freezer and fridge to go with it!  We'll talk about that another time.

Thursday, September 5, 2013

Hungry No More

I know I keep saying what will be next on this blog and then fail, fail, fail to write about it.  I now vow to NOT tell you what will be written and photographed next.  I will simply write about it and you will have to love it. This is the metaphorical, "You will eat what we are having for dinner and you will like it," of the blogging world. With that said I have been thinking a lot of when we were younger and the cost of being hungry.

There is much written in this world about the frivolity of man.  There are whole reality shows that surround this and people enjoy them.  One thing you hear little of, unless it is in a commercial, is hunger. We were the kind of poor that hit us all the way down to our stomachs. I, personally, loved the free breakfast and free lunch programs at school.  The food may have been terrible, but at least it was food.  But as I grew older and time marched on I still struggled with being hungry.  

One area I still struggle with is eating breakfast. When you are so used to eating sugar cereal in a cafeteria or the proverbial corn flakes in college, a real breakfast is not often on the list of things to do. I resorted to a cup of coffee and a slice toast for years, but now I am determined to start my days off right.  A full breakfast (the eggs and bacon deal) is a treat that my stomach can barely handle. Eating in the morning still makes me ill at times because I once ate a full breakfast with a stomach the size of a walnut and it did not last long. With a little help, I have decided to not let my past dictate what I eat in the morning.

My new favorite morning treat?

Granola.

I know. After all that you would think that I would want something else, but it's not the case.  I love homemade granola.
Here is the end product.  It is sooooo good.

Now on to the recipe!
Start with these Bob's red mill products.  I have tried Quaker and other products.  Pay the higher price for these and you will not regret it.  Use half the bag of the extra thick rolled oats and the whole bag of the 5 grain cereal.  Place them in a large bowl.  This makes A LOT of granola and you will need room to mix it. 

With what?  

I am glad you asked!!


Add 1 cup of slivered almonds (Trader Joe's has the best and cheapest selection)/ 1 cup of chopped walnuts/ 1 cup unsweetened shredded coconut (Bob's red mill sells another great product here)/ 1 tablespoon of cinnamon/ 1/2 tsp kosher salt

The last batch I made I traded out the walnuts for toasted pumpkin seeds.  I highly recommend this!

In a measuring cup mix 1 cup of REAL maple syrup (please no fake products here)/ 3/4 cup of canola oil/ 1/2 cup Lyles's golden syrup or simple syrup made from raw sugar/1 TBsp vanilla extract (I make my own but Penzeys spices sell a great product)/ 1 tsp almond extract/ and then whisk it all together.  If you are impatient and cannot wait the five minutes it takes to emulsify this mixture, please feel free to use a blender.

Now add the two together and using a rubber spatula start mixing.

Here is the mixture.  It should look shiny and moist.  There should not be any dry flakes of the mixture.

Line two sheet pans with parchment paper and divide the mixture between the two pans.  Then spread the mixture evenly.

Preheat the oven to 250 degrees.  Once heated place the pans on the top two racks and bake for 45 minutes.  Then switch the pans once the time is up and bake for another 45 minutes. increase the temp to 275 degrees and switch the pans again for another 45 minutes. Turn off the oven and leave the granola in for 3 hours to dry and crisp.

Now store them in jars with tight lids just like this one...

Sprinkle it over yogurt.

Try it just with some reduced fat milk.

Or eat it as a snack right out of a ziplock bag.

I know you will love it.  Just do me one LITTLE favor... the next time you feel the pangs of hunger consider donating to your local food bank or to No Kid Hungry. Even a $1.00 donation can add up over time. Do it for me....the kid who once went hungry and know you are making a HUGE difference in a little one's life.

See you next time!
Athena